Installing drip irrigation in your garden is one of the most water-efficient, plant-friendly ways to keep your garden healthy. Here’s a breakdown of why it’s beneficial and how to install it:
Benefits
- Saves Water:
Delivers water directly to plant roots, reducing evaporation and runoff—can use 30–50% less water than sprinklers. - Reduces Weeds:
Water is applied only where needed, so weed seeds in dry areas don’t germinate. - Improves Plant Health:
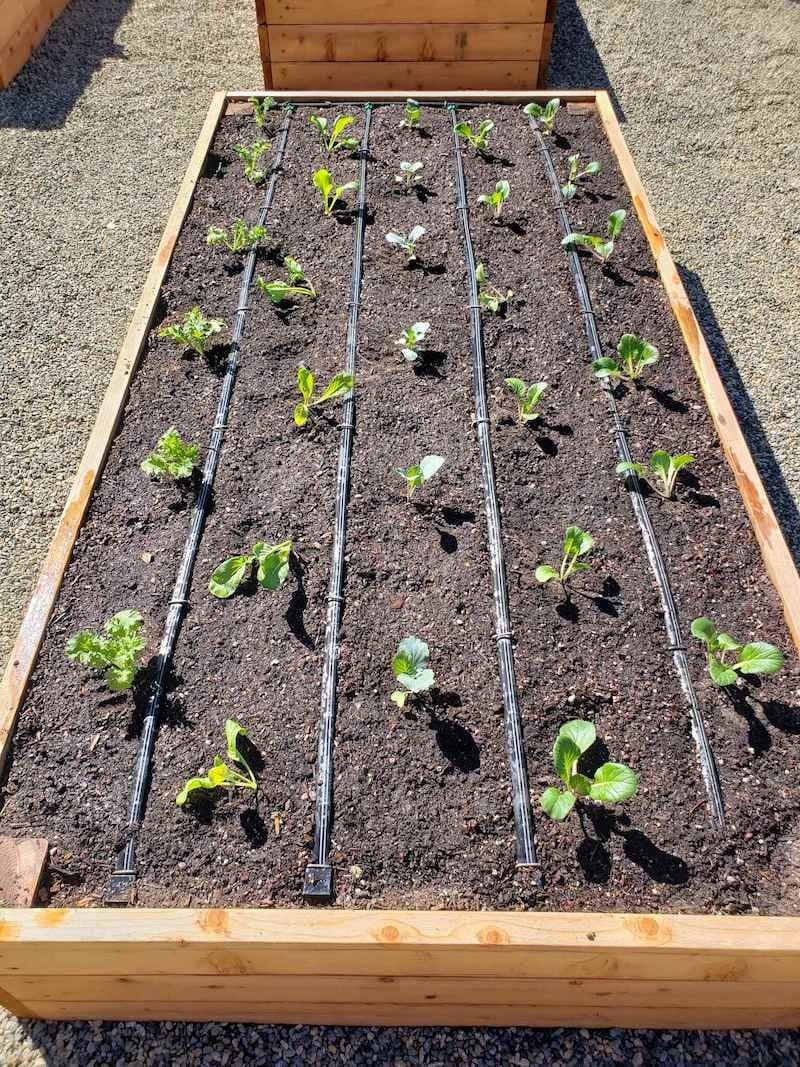
Keeps foliage dry, reducing the risk of fungal diseases like mildew or blight. - Efficient for Raised Beds and Row Crops:
Works well with vegetables, perennials, and orchard trees. - Automatable:
Easily connects to a timer or smart controller for low-maintenance watering. - Soil Structure Stays Intact:
Unlike overhead watering, drip doesn’t compact soil or disturb mulch.
Materials You’ll Need
- Backflow preventer and pressure regulator (usually included in starter kits)
- Filter (to prevent clogging)
- ½” mainline tubing
- ¼” drip tubing or emitter lines
- Barbed connectors and end caps
- Drip emitters or inline emitter tubing
- Stakes to hold tubing in place
- Optional: Timer for automated watering
installation step-by-step
1. Plan Your Layout
- Sketch your garden and mark each plant or row.
- Decide where the mainline tubing will run and where emitters or drip lines are needed.
2. Set Up at the Water Source
- Connect a backflow preventer, filter, pressure regulator, and then the mainline tubing to your outdoor faucet or spigot.
3. Lay Out the Mainline Tubing
- Run the ½” tubing along your beds or rows. Use stakes or landscape staples to keep it in place.
4. Branch Off with ¼” Tubing
- Use a hole punch to insert barbed connectors into the mainline, and run ¼” tubing to individual plants or rows.
- Attach emitters (e.g., 1 gallon/hour) at the end of the tubing, or use inline emitter tubing for evenly spaced watering.
5. Cap the Ends
- Use end caps or loop the tubing back into itself and clamp it off to close the system.
6. Test the System
- Turn on the water and check for leaks or clogged emitters. Adjust as needed.
7. Set a Timer (Optional)
- Add a battery-operated or smart timer at the spigot for consistent, hands-free watering.
Tips for Success
- Mulch over drip lines to keep soil cool and reduce evaporation.
- Flush the system occasionally to prevent mineral or algae buildup.
- Adjust seasonally based on rainfall and plant needs.
- In Oregon, even drought-tolerant plants benefit from occasional deep drip watering during long dry periods.